
As a quick recap, I made the prosciutto egg cups for the brunch on Saturday, and they were a huge, gluten-free hit! I didn't have my onion jam on hand, which I'd normally place a dab of in the prosciutto cup before I crack the egg on top, but nevertheless, they were delicious.
Here's my recipe:
Prosciutto Egg Cups
12 eggs
12 thin slices prosciutto (double-check that it's gluten free if that's what you're going for!)
Cream
Italian seasoning
Parmesan
Line each cup of a muffin tin with a piece of prosciutto, wrapping it around the sides of the cup to make a little bowl. If you're planning on adding a boost of flavor (crumbled blue cheese, truffle, onion jam, smoked salmon, etc) add it now. Crack one egg into each cup and pour a small dab of cream in the white of each egg. Draw a line through the white with a knife to mix the cream in. Sprinkle with fresh parmesan and herbs, and bake at 375 for 15 minutes. For quicker assembly, crack all of the eggs into a mixing bowl and beat with the cream, then pour out even portions amongst the prosciutto cups.
Later that afternoon we had our gluten-free turkey dinner. No one insisted we make everything gluten free, but that's how it happened for the sake of my cousin who is struggling to find food worth eating since his recent diagnosis. I made a cornbread stuffing with gluten free farmer's sausage, which was a nice stuffing if you like cornbread. The taste was fine, but the crumb was, well, cornbread. So if that's you're thing, it's great, but if you're used to a normal bread stuffing, perhaps you wouldn't like it.
I also made my individual pavlovas! And I learned some valuable lessons! Lesson number 1: use the proper beaters to make your egg whites stiff. If you don't, basically they'll never get there. I stood with a hand mixer for 25 minutes, hoping that eventually the soft peaks I had would stiffen up. Eventually I called it "good enough" and piped my pavlovas. Lesson number 2: use the proper type of sugar! I've seen recipes that insist you can use icing sugar. Perhaps you can, but I've not had luck with it! After mixing for a ridiculous amount of time, I was dismayed to find that my labour of love resembled piles of turd after their time in the oven. No lie. That's all you could think as you looked at them. And a good amount of the sugar had seeped out of the bottom and caramelized around the base of each pavlova. They were next to impossible to peel off. Then when I checked them again in the morning, they had shrivelled. They were horrible, disgusting little turd piles. And while in some instances you can say, "It doesn't matter how it looks if it tastes great!" I didn't even have that consolation this time. The outside had never hardened properly (and I kept them in the oven too long hoping that it would, which gave them a brown hue), and so they were essentially angel food cake flavored marshmallow. They were essentially unservable as anything other than an individual marshmallow.
So what's a girl to do? I remade them. And this time, I used granulated sugar instead of icing sugar. Ideally, I'd be using castor sugar, but I didn't have it, however I'm now aware that between icing and granulated, the latter is a better substitute.
Again, I was only using the bad beaters, so those stiff peaks never came, which meant that instead of pavlova towers I had pavlova mounds, but joy of joys, these bad boys worked in every other way! And the best part was what we did with them!
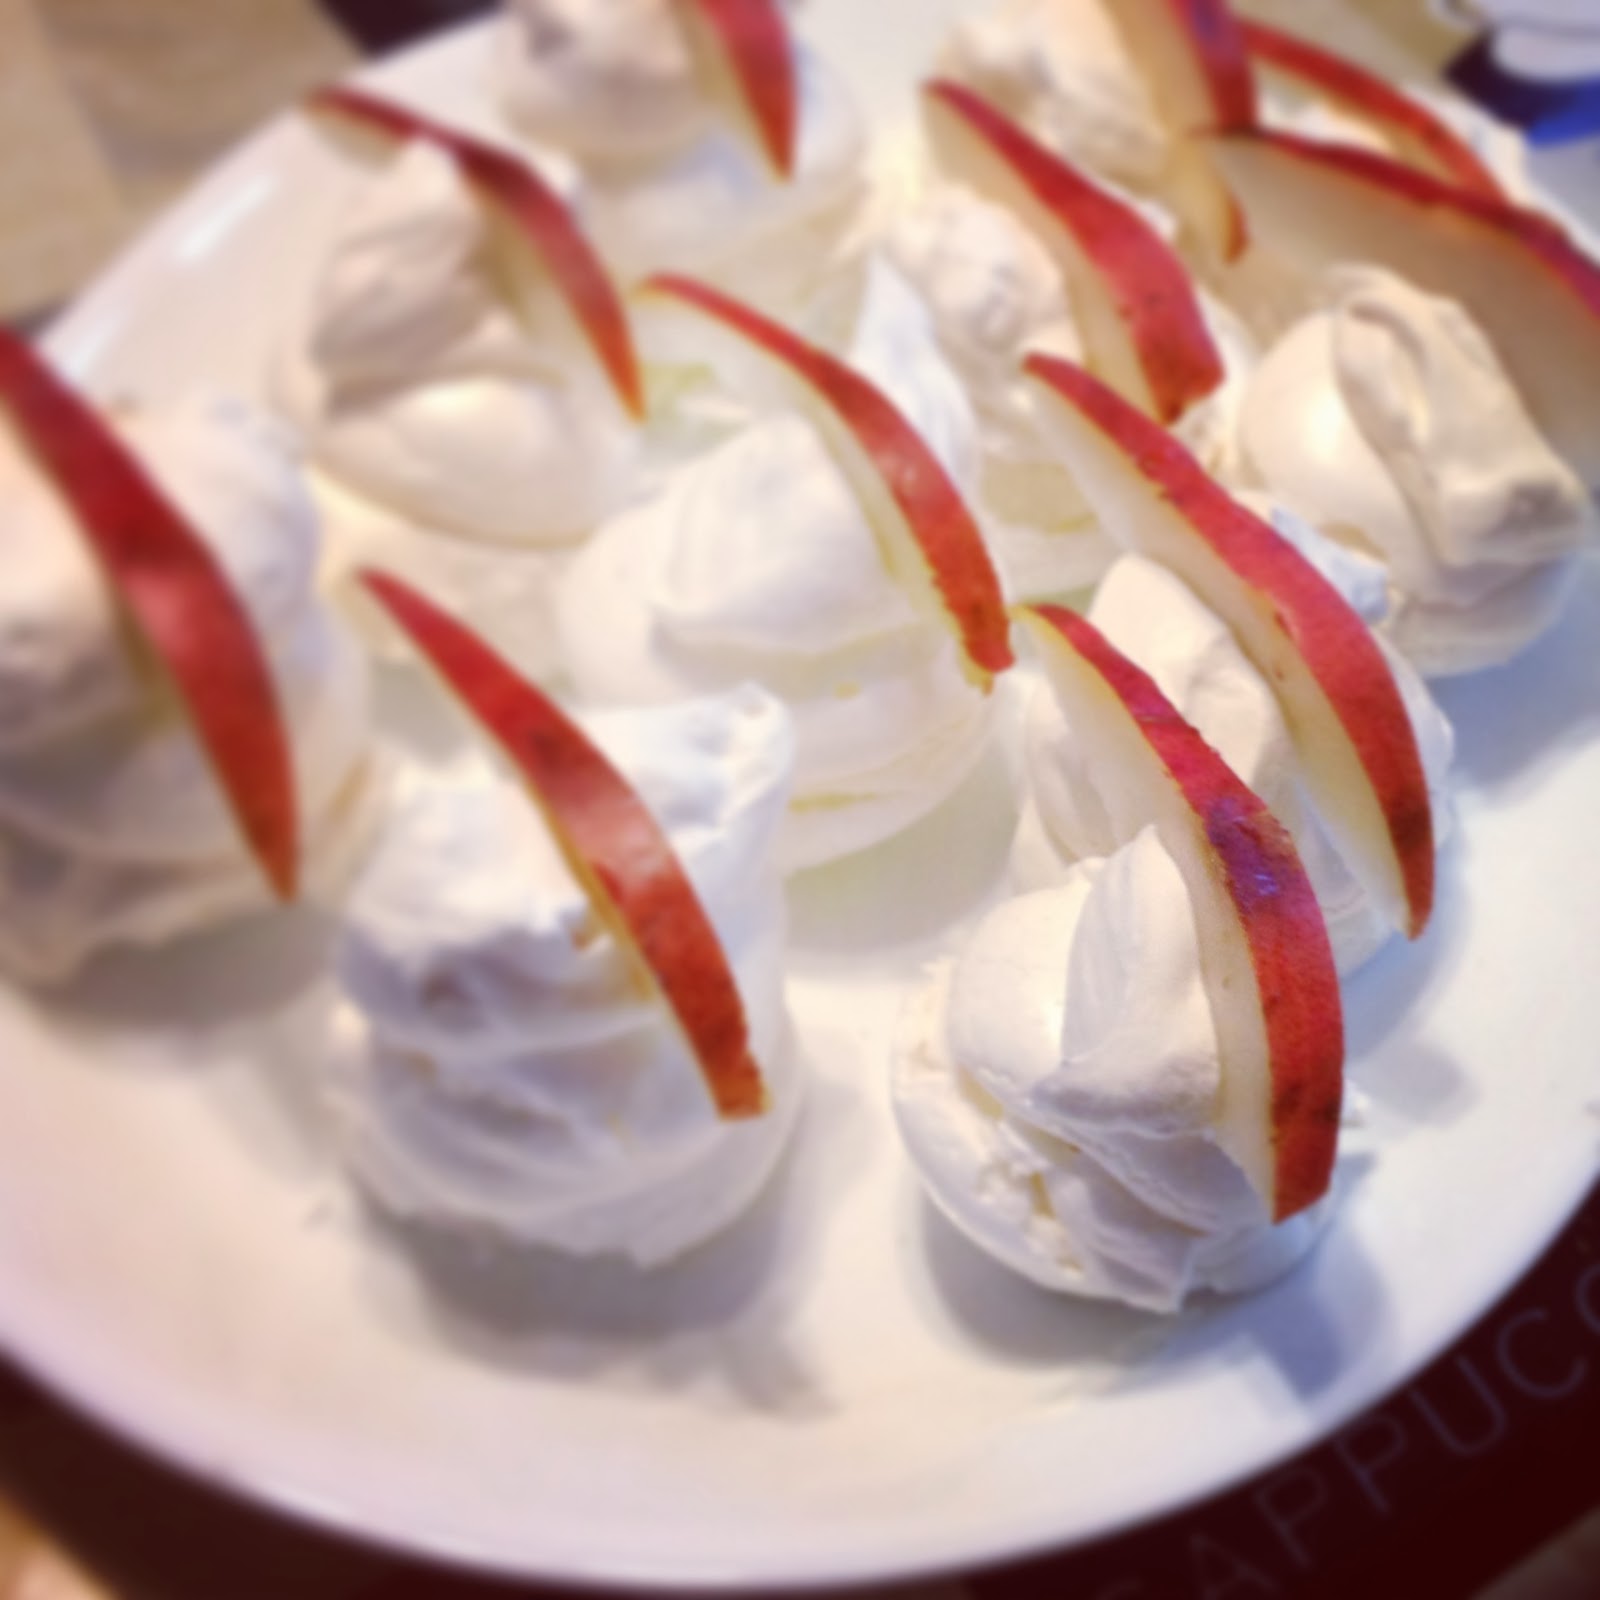
For half the batch, I mixed up a chocolate whipped cream (so rich that it wasn't even whipping at first until I upped the cream ratio a bit - basically it was a ganache that I thinned enough to whip properly!), and then after layering with the cream, we topped it with pomegranate arils. For the second half of the batch, I made a maple syrup flavored whipped cream and topped each one with a slice of red pear. The whole point of this exercise was to make a gluten-free dessert that my poor cousin wouldn't feel was the consolation prize of desserts, and I think we nailed it! (I personally saw him inhale three of those bad boys, and he insisted that if we left the remainder there, he'd finish eating them all)

Now, onto Round 2 recap. We regularly have turkey dinners with this side of the family, but this year was different. Due to some major stressors in my MIL's life, us kids took over the brunt of cooking. She made the turkey and stuffing, and we were in charge of all the rest. Oh, and there were 14 adults who were going to be there. So the out-of-towner kids brought things they could pick up (pies, salads, and buns), while my local sister-in-law and I divvied up the rest. I took on the mashed potatoes, sweet potatoes, extra desserts, and decided to make use of that leftover cornbread stuffing I brought home from Calgary. But I decided to improve it: Corn cakes! I stirred in a can of creamed corn and an extra egg, then made patties which I spritzed with oil, then baked on my stoneware. The result was super yummy! And since another gluten-free person was in attendance, it was a welcome thing for her! For the mashed potatoes, every year that side has "Swedish potatoes" - mashed potatoes with cream cheese and a bread crumb topping. Well, the problem with doing mashed potatoes just with cream cheese is that they can often be dry and dense. So I got my Auntie Brenda's recipe for the best ever mashed potatoes, added the bread crumb topping, and passed them off as an improved Swedish Potato.
Here's the recipe for what my aunt calls "Elsie's Potatoes":
5 lbs Russet Potatoes, peeled and chopped
1 - 8 oz package cream cheese, softened
1 c. sour cream
2 tsp onion powder
1 tsp salt
2 tbsp. fine bread crumbs
1 1/2 tbsp. butter
Boil the potatoes until they are tender. In a mixer with a paddle attachment, beat the potatoes until they are mashed fine. Add the cream cheese, sour cream, onion powder and salt, and mix until combined and fluffy. Put potatoes into a large casserole dish and sprinkle bread crumbs on top. Dot the butter around the top and bake at 350 for about 30 minutes - until crisped on top.
All I was supposed to bring was 2nd dessert and potatoes. But I kept changing what I thought I'd bring for dessert, and so my husband saw an opportunity to make a request: lemon bars. So for dessert I made Dulce de Leche bars and Lemon bars as well. Then he figured he might as well ask for 'Marshmallow casserole' too, since I was in a generous mood. Ergo, the candied sweet potatoes I made with a marshmallow topping.
Supper was eaten, we had loads of food, and now to rest up and get my house ready to host another dinner next weekend!
Mrs. VanderLeek ;)
No comments:
Post a Comment
I would love to know what you think of my recipes, or even of my antics! Let me know!